Your cows are more than just livestock—they’re the backbone of your farm. But without proper shelter, they’re vulnerable to harsh weather, stress, and health issues. A well-built cow shelter isn’t just about protection; it’s about keeping your herd comfortable, healthy, and productive.
So, how do you build a shelter that’s durable, cost-effective, and suited to your farm’s needs? Regardless of whether you’re a seasoned rancher or a novice just starting out, this guidebook will lead you through the process step by step. Plus, as experts in prefab steel structures, we’ll share insights on why steel shelters are a smart choice for long-term reliability and efficiency. Let’s get started!
Why Build a Cow Shelter?
A well-designed cow shelter isn’t just an extra structure on your farm—it’s a vital investment in your herd’s well-being and your operation’s profitability. From protecting against harsh weather to improving productivity, the right shelter pays for itself in the long run.
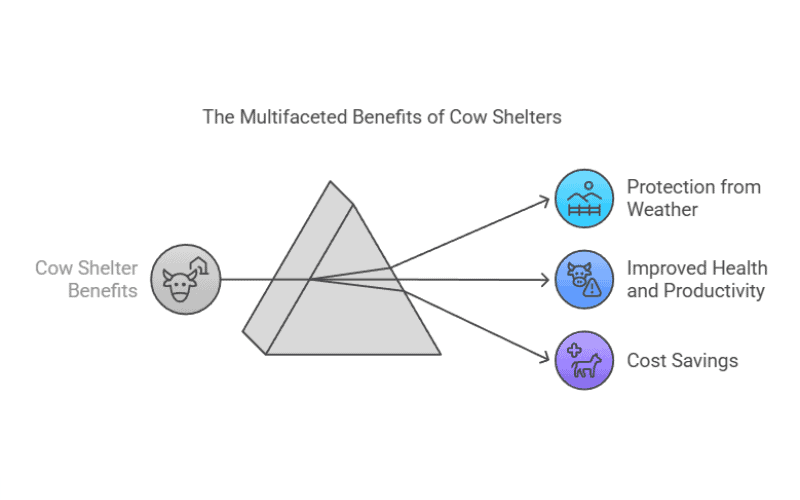
Protection from Weather
Cows are resilient, but they’re not invincible. Intense heat can induce thermal stress, resulting in decreased lactation and reproductive problems. Conversely, severe winters elevate the danger of cold injury and lung inflammation. A properly built shelter provides shade in summer, warmth in winter, and protection from wind and heavy rain, ensuring year-round comfort for your herd.
Pro tip: Position shelters east-west to minimize midday sun exposure—your herd will graze happier.
Improved Health and Productivity
Stress-free cows are productive cows. Unprotected cattle are more prone to respiratory infections, injuries, and weight loss, which directly impacts milk yield and meat quality. A shelter with good ventilation and dry bedding helps prevent disease outbreaks and supports steady weight gain—critical for dairy and beef operations alike.
Cost Savings
Let’s talk numbers. A single case of bovine pneumonia can cost over $300 in treatment, and heat-stressed cows may produce 2 liters less milk daily. A durable shelter reduces these losses by 60-70% within three years while adding 2-3 productive years to each animal’s lifespan. Beyond protecting cattle, it cuts veterinary costs from pneumonia, hoof infections, and injuries caused by harsh conditions. Investing in a shelter isn’t just an expense—it’s a strategic move to lower losses, extend herd longevity, and boost profitability.
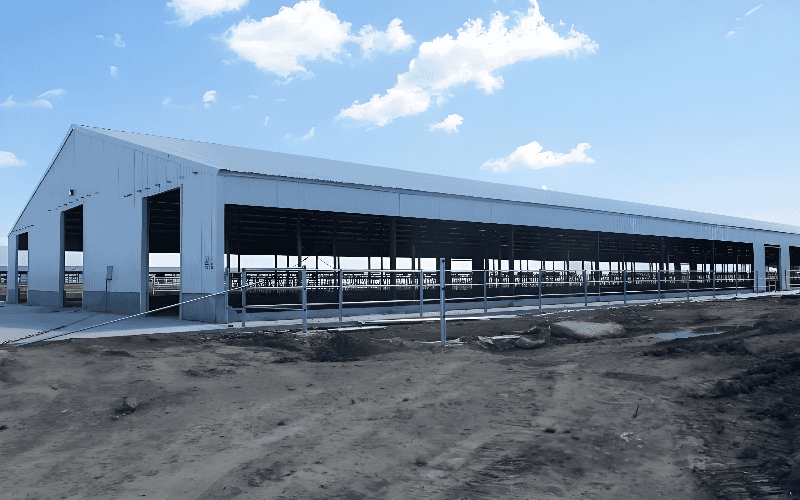
Our Take: The Steel-Framed Advantage
Forget creaky wood beams and termite headaches. Steel shelters offer 30+ years of reliability with near-zero maintenance—no warping in humidity or rot from winter moisture. Their open-span designs allow flexible layouts (think: easy feeding alleys or calving zones), while galvanized coatings shrug off UV damage and Midwest snowloads. For forward-thinking ranchers, steel isn’t just an option; it’s the modern standard.
Step-by-Step Guide to Building a Cow Shelter
Building a cow shelter requires careful planning and execution to ensure a safe, durable, and efficient structure. By using pre-engineered kits, the process becomes more streamlined, reducing both construction time and costs while maintaining high-quality standards.
Prefab Cow Shelter (Using Pre-Engineered Kits)
Step 1: Planning and Permits
Before starting the building process, it is crucial to determine the suitable size for the shelter. Generally, cows require 35-40 sq. ft. per animal to ensure comfort and mobility. Furthermore, verify local planning regulations and acquire the requisite licenses to steer clear of legal entanglements.
Here’s a quick planning cheat sheet:
| Planning Focus | What to Do | Pro Tip |
| Cow Stall Layout | Allow 4ft wide x 7ft long per stall | Add 10% extra space for milking areas |
| Building Materials | Use treated wood or metal for durability | Ask neighbors what’s worked best locally |
| Ventilation Placement | Install vents 10ft apart on side walls | Face vents away from winter winds |
| Drainage Plan | Slope floors 1-2% toward drainage ditches | Test slope with a level before pouring |
| Future Expansion | Leave 15ft empty space on one side | Mark expansion zones with temporary fence posts |
Struggling with getting permission? Snap photos of your planned site and draft a simple sketch showing dimensions. A quick call to your local permitting office to confirm requirements can save weeks of back-and-forth!
Step 2: Site Preparation & Foundation Installation
A well-prepared site is essential for durability. Remove any debris from the area, flatten the ground, and guarantee adequate drainage to avert the accumulation of water, as it can result in hoof ailments.
For dairy cows, a full concrete slab is the best option as it provides a smooth, easy-to-clean surface that enhances hygiene and reduces the risk of hoof injuries. On uneven terrain, concrete piers can be used for structural support, but additional flooring, such as rubber mats may be needed for cow comfort. Proper curing and leveling of the foundation are crucial before assembly.
1. Clear & Clean
Remove all debris (rocks >2″ diameter, tree stumps)
Rent a brush mower for overgrown weeds ($50/day)
72% of farmers find buried rocks cause foundation cracks – probe soil with rebar every 6ft
2. Level Smartly
- Use laser level to grade 2% slope for drainage
- Keep topsoil – scrape and stockpile for later revegetation
Test: Pour 5gal water – should flow 10ft in 3mins
3. Foundation Prep
| Terrain Type | Action |
| Clay Soil | Compact 6″ crusher-run base |
| Sandy Soil | Install woven ground stabilizer |
| Sloped Site | Build retaining wall every 30ft |
4. Material Staging
- Designate 20x20ft area for concrete/wood storage
- Lay pallets to prevent moisture damage ($0.5/sqf)
We provide tailored foundation recommendations for different terrain types, ensuring stability and longevity. As part of our cow barn design process, these recommendations are typically shared on the first day of your inquiry, helping you plan efficiently.
5. Mark the Foundation Layout:
- Use stakes and string lines to outline the foundation dimensions.
- Double-check alignment and squareness to ensure accurate construction.
6. Excavate and Prepare the Base:
- For slabs, dig 6-8 inches deep, then lay a 4-6 inch gravel base.
- For piers, dig holes at least 24 inches deep and fill them with compacted gravel before pouring concrete.
7. Install Reinforcement:
- Place rebar or wire mesh for strength and durability in concrete slabs.
- Secure pier reinforcements using anchor bolts before the concrete is set.
8. Pour and Level the Concrete:
- Pour concrete evenly, ensuring a minimum thickness of 4 inches.
- Use a screed board and trowel to smooth the surface.
9. Allow Proper Curing Time:
- Concrete should cure for at least 7-10 days to reach full strength before further construction.
- Keep the surface moist during curing to prevent cracking.
Our feature: We provide essential foundation components, including anchor bolts, embedded parts, and positioning frames for securing anchor bolts and embedded parts. These ensure a stable and secure structure, making installation more efficient and precise.
Step 4: Frame Assembly
The steel frame serves as the skeleton of the shelter, providing structural strength. Construct the framework in accordance with the manufacturer’s guidelines, utilizing galvanized screws to thwart rust and deterioration.
- Organize Materials
- Sort labeled parts (A1, B2, etc.) into zones using colored chalk marks on the ground.
- Quick check: Count all pre-drilled holes – each beam should have 8 evenly spaced holes.
- Install Base Connections
- Thread anchor bolts until resistance increases (about 5 full turns after snug contact).
- Pro tip: Rub beeswax on bolt threads to prevent galling in humid weather.
- Assemble Vertical Supports
- Slide column bases onto anchors until you feel a firm “thud” against the foundation.
- Hold a 4-ft level vertically – bubbles centered = perfect plumb.
- Install Roof Trusses
- Align truss notches with beam grooves until they seat fully (no visible gaps).
- Listen: A smooth “clink” means connectors are fully engaged.
- Secure Frame Bracing
- Tighten cross-braces until the wrench handle deflects slightly (≈15° bend).
- Test: Push firmly on any joint – zero wobble means it’s storm-ready.
- Final Torque Check
- Set torque wrench to 90 lb-ft – a sharp “click” confirms proper tightness.
- Mark each tightened bolt head with bright paint for easy visual inspection.
Our advantage: Our kits come with pre-drilled holes and labeled parts, making assembly quicker and more efficient.
Step 5: Roof and Wall Installation
Durable materials are key to weather resistance. Metal roofing and siding protect against harsh conditions, while insulation helps regulate temperature in extreme climates.
- Install Roof Panels:
- Start from one corner, ensuring an overlap of at least 6 inches for each panel to avert any seepage.
- Secure panels using self-drilling screws with neoprene washers to maintain a watertight seal.
- Leave space for ridge vents to enhance ventilation.
- Attach Wall Panels:
- Start from the bottom and work upward, securing panels to the frame.
- Overlap panels slightly to prevent water infiltration.
- Use pre-cut corner trims to seal edges and improve aesthetics.
- Add Insulation (If Required):
- For extreme climates, install spray foam or rigid board insulation between wall panels.
- Reflective insulation under the roof helps reduce heat buildup in warmer regions.
- Seal and Finish:
- Apply weather-resistant sealant around fasteners and panel joints.
- Check for any loose panels and tighten them as needed.
- Install flashing around openings (doors, windows) to prevent leaks.
Our innovation: We offer reflective roofing options that reduce heat buildup in warm regions, improving cattle comfort.
Step 6: Ventilation and Lighting
Adequate ventilation forestalls respiratory problems and guarantees a wholesome atmosphere. Install ridge vents or sidewall openings for natural ventilation. For nighttime visibility, use LED lighting to improve safety. Our upgrade: We provide solar-powered lighting options for energy efficiency and sustainability.
Step 7: Flooring and Bedding
Flooring should be durable and easy to clean. Concrete or gravel floors work best, while straw or sand bedding improves comfort. Slope the floor slightly for effective drainage, preventing moisture buildup. Our tip: Proper flooring design minimizes hoof-related issues and simplifies waste management.
Step 8: Final Touches
A well-designed shelter goes beyond just structure—it should be practical and comfortable for both the animals and the caretakers. Thoughtful placement of feeding and watering stations ensures easy access and reduces crowding. Secure gates and fencing help keep the herd safe from predators while maintaining controlled movement.
Small additions like non-slip flooring at entry points and strategically placed shade areas improve the cows’ comfort, reducing stress and enhancing productivity.
Our design: We offer modular layouts that allow for seamless future expansions, ensuring the shelter adapts to growing herd sizes.
By following these steps, you can construct a durable, efficient, and cost-effective cow shelter that enhances cattle health and productivity. Investing in a steel prefab shelter ensures long-term benefits, from reduced maintenance to improved herd well-being.
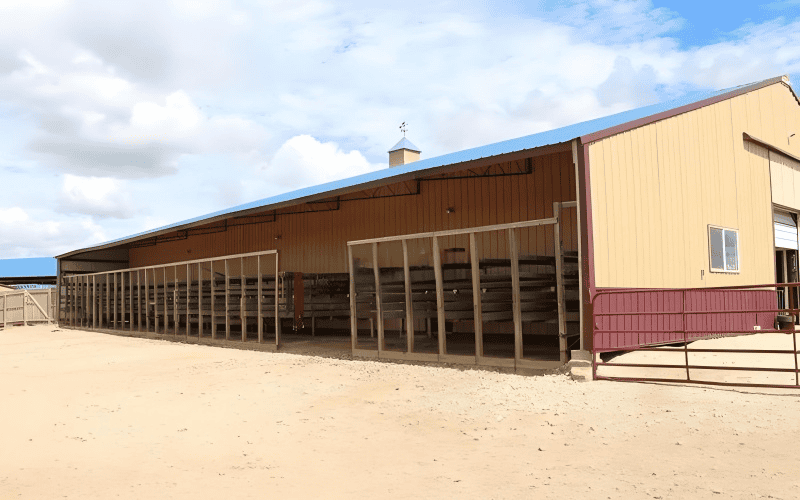
Choose Our Steel Structure Cowshed?
Investing in a Steel Structure Cowshed means choosing durability, efficiency, and long-term savings. With many years of expertise in producing steel structures, we grasp the distinctive requirements of farmers and ranchers. Our customizable designs guarantee an ideal match for your livestock, maximizing both space and utility. Whether you’re considering monoslope cattle barn designs for improved ventilation and drainage or a more traditional layout, our structures are built to enhance cattle comfort and operational efficiency.
We likewise give precedence to sustainability, presenting environmentally conscious alternatives that lessen energy expenditure and diminish ecological repercussions. From design to installation, our team is here to support you every step of the way, ensuring a smooth and hassle-free building experience.
Ready to build a shelter that lasts? Contact us today to explore our prefab steel shelter solutions and discover how we can help you create a durable, cost-effective, and sustainable home for your herd.